Quality Control Inspection Report
The QC equipment of us is as below:
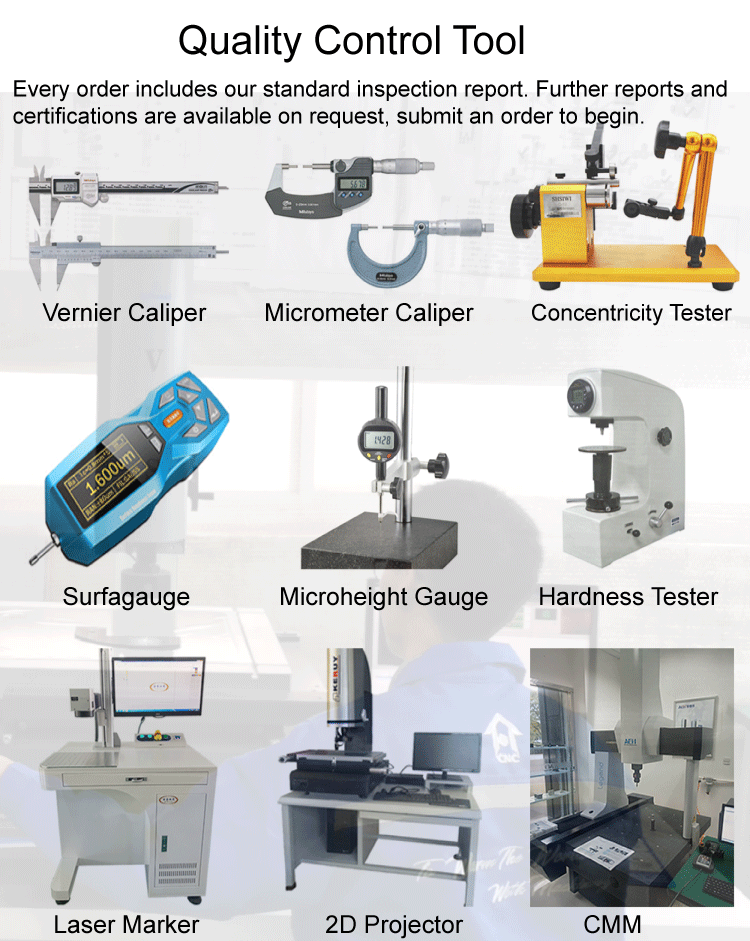
Standard QC Process:
Check the materials, surface roughness, rigidity of the products, to ensure the compliance with the requirements of customers.
Check the size of the products based on the 2D drawings, including diameter, depth, screw-thread, etc.
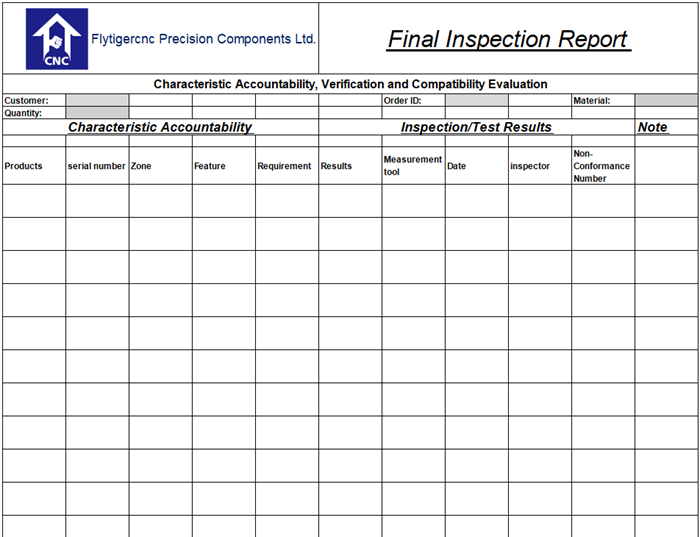
A full inspection report would be issued by our QC dept.
The 2019 version of Inspection Report is as below:
If clients don't have special requirements for tolerance, we'll generally define the size by ISO2768-Mk tolerance standard.
Some of our clients ask for individual marking service. We'll print masks to the products by laser machine before packaging. Every item has its own code.
Our inspectors would check sampling item and provide individual inspection report for product.
Sampling Plan
| Products Quantity | Sampling number |
| 1-10 | 5 |
| 11-50 | 8 |
| 51-200 | 10 |
| 201-1000 | 20 |
| 1001-10,000 | 30 |
| 10,001-35,000 | 50 |
| More 35,000 | 60 |
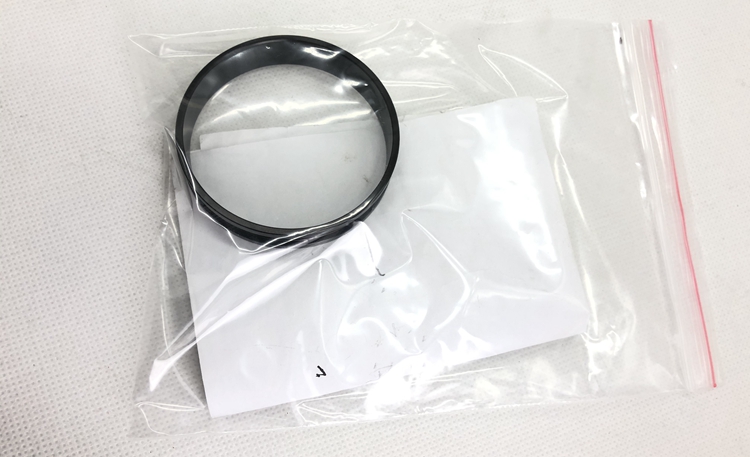
When a customer open the packaging, they will see packing slip and 2D drawings together with products.
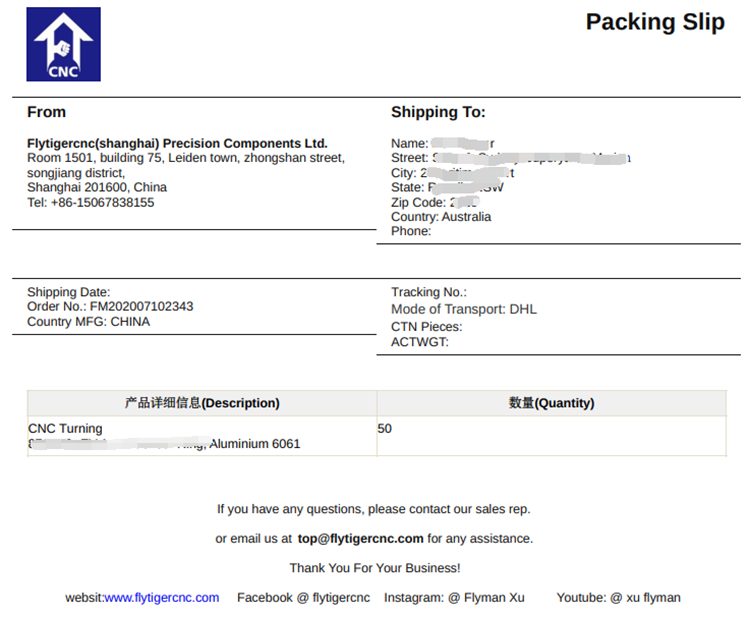
Packing slip
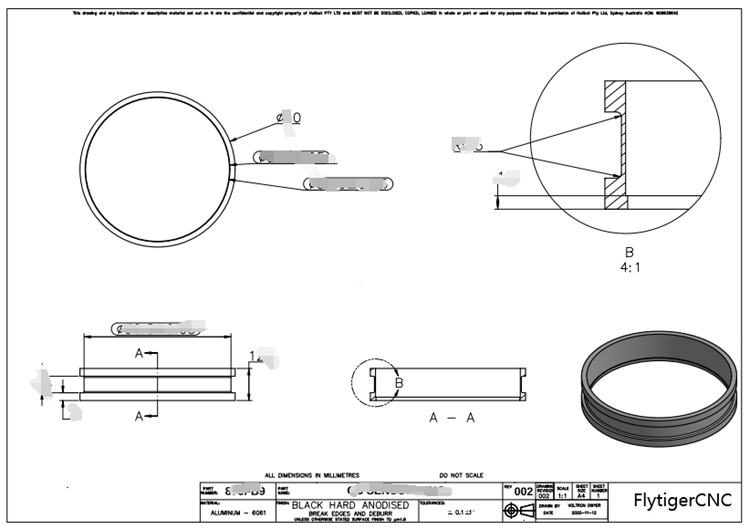
2D Drawing
Every product that has been inspected has its own inspection report to ensure the quality.
How to make inspection for 3D printing products?
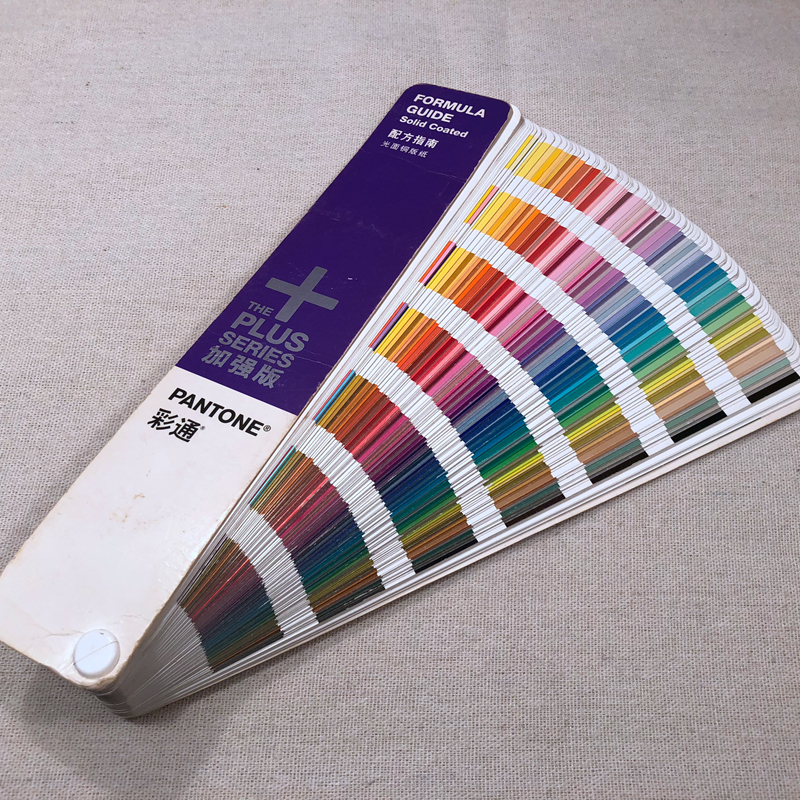
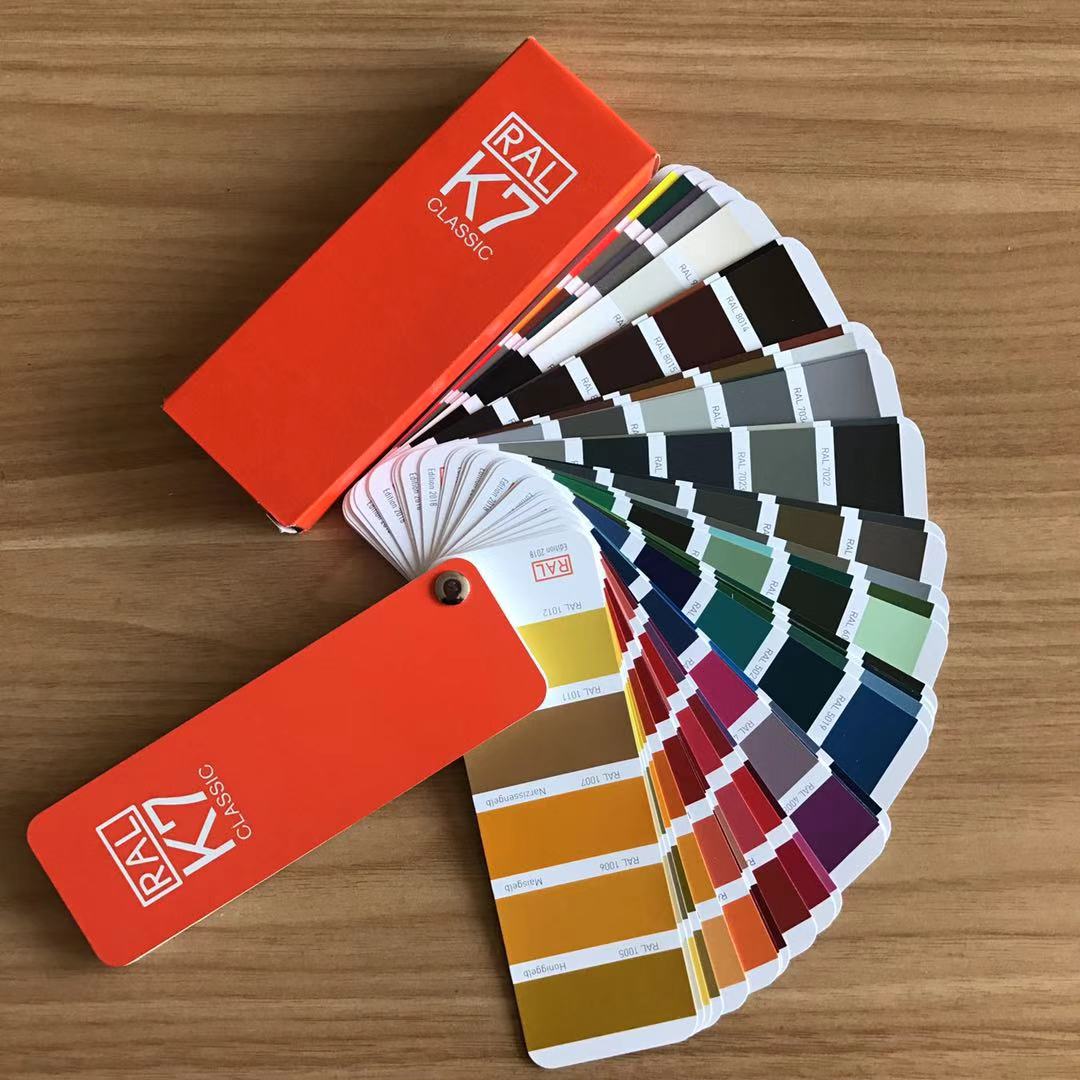
Since the size of 3D printing products is usually very complicated, and the precision is not as high as products made by CNC machining. Generally our QC dept would inspect the length, width and height based on the requirements of our clients. Some of the 3D printing products need special painting, we'll check the color with Pantone Card to ensure every color is correct.
 |  |
Just like the mission of FlytigerCNC- To Warm the World with Machinery.
The quality of every product we make must be ensured.
Our products and accessories are widely applied to the field of construction machinery, medical equipment, intelligent device, etc.
Once the quality problem occurs, it might lead to serious result.
FlytigerCNC knows- Quality is life!
We are responsible for every client of us.
